


Demo versions are restricted to non-commercial use only. Registered products have no commercial usage limitations.
Demo versions are restricted to non-commercial use only. Registered products have no commercial usage limitations.
Most products now include built-in registration and update checking. Simply register your demo and check for updates directly from the plugin menu to get downloads instantly. You can also download updates from any product page or check your licenses and activations in your Members Area.
Each purchase includes 2 years of standard support from the date of purchase. Beyond this period, support availability for current active versions depends on the nature of your request and version status until end of life.
For end-of-life products, support and downloads have ended. However, all existing license activations remain active and functional. If you weren't able to download an EOL product before support ended, you can request temporary download links by submitting a request via our contact form.
License transfers are available for a one-time fee of $29 and can only be performed once per license. To initiate a license transfer, please contact our support team, and we'll guide you through the process.
Each license allows activation on up to three computers owned by the same license holder. This supports our macOS, Windows, and Linux builds.
All minor updates (e.g., v1.0 to v1.x) are provided free of charge. Major version releases (e.g., v1.0 to v2.0) may require a paid upgrade. Upgrade pricing is only available to eligible customers within a time window from the new version release.
Our products use serial number authentication with one-time internet verification during activation. After that, your license is stored locally on your computer as a .key file in your Documents > discoDSP > Product name folder (or ~/Library/Application Support/discoDSP/ on macOS), and tied to your main hardware ID (CPU/motherboard), not to accessories or hard disks. This means the software works completely offline after activation, you can backup and restore your license file without reactivating, your license survives system backups and restores, and there are no constant internet checks or tracking.
Try rebooting your computer. This can often resolve any software conflicts or issues that may be preventing your plugins from appearing in Logic Pro.
Open Terminal and use the command:
sudo killall -9 AudioComponentRegistrar
This command will force quit the AudioComponentRegistrar process, which is responsible for managing audio units in macOS. Killing the AudioComponentRegistrar process is a temporary solution used to avoid the need for a reboot. It should not have any significant impact on the system. However, it's always recommended to reboot and avoid force quitting system processes.
~/Library/CachesAudioUnitCache.com.apple.audiounits.cache.~/Library/Cache.db, Cache.db-shm, Cache.db-wal)com.apple.logic.pro.cs)com.apple.logic10.plist)Note: Ensure you're logged in as an Admin account to perform these steps, or you might not have the necessary permissions.
In some cases, the document folder path may not be set properly on your Linux distribution, which could cause the GUI not to load or LUA scripts to fail to import files in Bliss.
The application needs to access files in your Documents folder via $(xdg-user-dir DOCUMENTS) but the xdg-utils package might not be installed on your system.
Install the xdg-utils package using your distribution's package manager:
sudo apt install xdg-utils
After installing, you can verify the Documents path is correctly detected by running:
xdg-user-dir DOCUMENTS
If you still encounter issues, you may need to set the path manually by editing ~/.config/user-dirs.dirs and adding:
XDG_DOCUMENTS_DIR="$HOME/Documents"
After saving the changes, log out and log back in to apply them.
Installing xdg-utils is the simplest solution for most Linux users. This package provides the standard tools needed for applications to locate your Documents folder correctly.
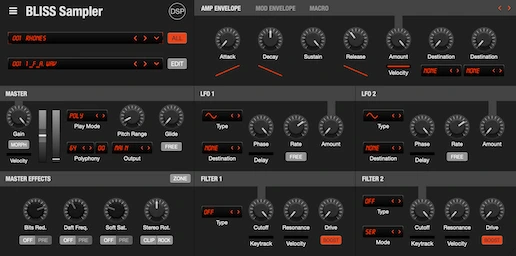
If you've tried to resample soundbanks with Bliss and found that some notes appear truncated or incorrectly rendered, you're not alone. Many users have reported this issue while trying to resample plugins like Kontakt, UVI Workstation or Cherry Audio. In this article, we'll explore the cause of this problem and provide a solution to resolve it.
The cause of the truncated notes issue lies in some kind of offline sampling protection implemented by Kontakt, UVI Workstation, and other virtual instruments. These plugins interfere with the resampling process in Bliss plugin versions, resulting in truncated notes.
The Bliss standalone application now includes automatic hardware sampling capabilities. You can route audio and MIDI virtually on your system to sample from any hardware synth or DAW running virtual instruments, effectively bypassing offline sampling protection.
Bliss standalone on macOS includes a built-in virtual MIDI output port. For virtual audio routing, use BlackHole, a free open-source virtual audio driver:
For Windows, you'll need both virtual MIDI and virtual audio cable software to route between Bliss standalone and your DAW:
Virtual MIDI (free options):
Virtual Audio (free options):
Alternative: You can also use a physical external audio interface with two computers - one running your DAW with the protected virtual instruments, and another running Bliss standalone, connected via audio and MIDI cables.
Using Bliss standalone with virtual routing effectively bypasses offline sampling protection and offers the most flexibility. If you're still facing issues, feel free to reach out to us for further assistance.
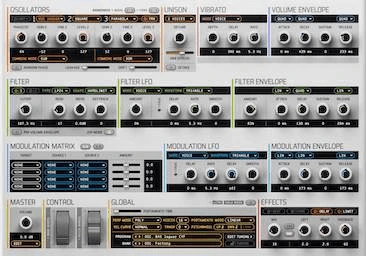
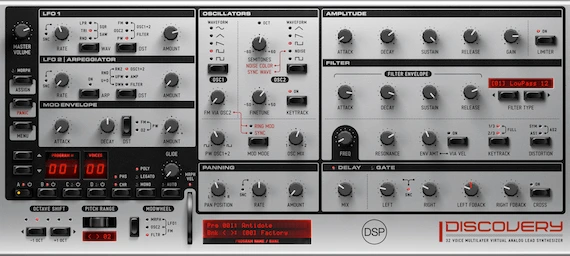
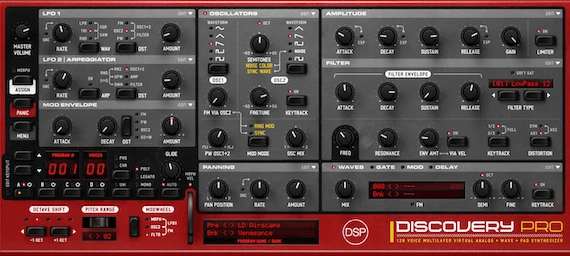
If you are having trouble using SoundFont2 files in the Wave oscillator of your Discovery Pro, Corona or Bliss plug-ins, there may be an issue with the format of the SF2 file. Some SF2 files may contain multiple programs within them, which can cause the software to not recognize or use the file correctly.
To resolve this issue, you can use a SF2 editor to extract the desired program from the SF2 file and save it as a single program. This will allow the Discovery Pro software to recognize and use the program correctly.
One popular SF2 editor we recommend is Polyphone. It is a free and open-source software that allows you to edit, create, and convert SoundFont files. You can download it from their website at https://www.polyphone-soundfonts.com
Here are the steps you can take to use Polyphone and fix the issue with your SF2 files:
Additionally, on step 5, you can also export as SFZ and import the WAV files instead of dropping them into the GUI. They will be copied to Waves > User.dwb folder.
If you have any other questions or if there is anything else we can assist you with, please reach out to the support team.
Installing discoDSP plugins on Debian-based Linux systems is straightforward using the provided .deb package. The installation automatically sets up the standalone application and plugins for use in your DAW.
Install the package using your package manager or the command line:
sudo dpkg -i ProductNameLinux.deb
sudo apt-get install -f # Fix any dependency issues
The package installs all files to /opt/productname/ and creates a terminal shortcut for easy access.
The installation includes:
/opt/productname/.so file) in /opt/productname/.vst3 folder) in /opt/productname//usr/local/bin/You'll need to configure your DAW to scan /opt/productname/ for plugins.
Launch the standalone application from your application menu or by running:
productname
For example: highlife, obxd, corona, vertigo, etc.
To use the plugins in your DAW:
/opt/productname/ to your DAW's VST2/VST3 scan pathsIf your DAW doesn't detect the plugins:
ls /opt/productname//opt/productname/ to your DAW's VST plugin search paths.so) or VST3 (.vst3) formatTo remove the package:
sudo apt-get remove productname
This removes all system files from /opt/productname/ and the terminal symlink. User presets in ~/Documents/discoDSP/ are preserved.
No articles found matching your search. Try different keywords.


